Trying contact lenses for the first time? They can make a real difference in your daily life. But before you can enjoy all the benefits, you need to learn how to put in your contacts properly. It might seem a little intimidating, but once you’ve learned the process, it will be as natural as combing your hair and brushing your teeth.
Jump to a section:
- 6 steps to put in contact lenses
- 5 things you should know before putting in contacts
- Doctor’s tip to put in contacts for the first time
- How to take out contacts
- Enjoy pure vision and comfort with your new contacts
6 steps to put in contact lenses
1. Look at your reflection in the mirror, maintaining eye contact with yourself. Remember which eye you decided to always start with.
2. Balance the lens on the tip of your left index or middle finger, keeping it over the clean towel. The smaller the area on your finger the lens balances on, the better.
3. With your right index finger, gently pull down the lower lid of your eye, and tilt your chin downwards, still maintaining eye contact with yourself.
4. Watch your finger in the mirror and try to move your lens towards your eye, with the lower half of the lens leading the way.
5. As the lower edge of the lens touches your eye, tip the lens upwards and the upper half should almost “jump” onto your eye.
6. Repeat the same process with your other eye.
Release your lower eyelid and return your head to a normal position. Your contact lens should be sitting directly on your cornea, right where it’s supposed to be. Blink slowly a few times to help the lens settle into place.

5 things you should know before putting in contacts
1. Find a clean place
A bathroom or dressing room is a popular choice. Stand in front of a mirror and find a flat space to place your contact lens case and solution. You’ll need two freshly washed and lint-free towels on hand. Spread one of them on the flat space – if you drop your contact lens, it’s much better to have it land on a clean towel. The other will be used to dry your hands after washing them.
If you’re putting in your contact lens and it drops into the sink, it’s best not to wear that lens until it’s been cleaned and disinfected (which generally takes at least 6 hours).
2. Wash your hands thoroughly
You’ll need clean, freshly washed hands when you touch your eyes and the surrounding area to prevent transferring any bacteria. Thorough rinsing of your hands is also important in order to avoid soap being left on your fingertips, which could transfer to your contact lens before insertion and end up stinging your eye. Rinse and dry thoroughly with your towel.
3. Organize your lenses and decide on a routine
To reduce the chances of eye infection, you should designate one specific lens to one specific eye – don’t swap them between each eye when you put them on, even if your contact lens prescription is the same for each eye. if you develop an infection in one eye for some reason , it won’t get spread to both which can happen very easily if you were switching lenses.
Make it easy to keep track by deciding an order that you always stick to. Let’s say you choose to start with your right eye. Keep the same order every time you put in your contacts. That way, it’ll be easier to keep track of which lens belongs in which eye!
4. Take your contacts out of the package and rinse them with cleaning solution
If the lens is coming straight out of the blister pack, it can be inserted without rinsing with a solution. If your lens is stored in a cleaning case, give it a quick rinse with the solution to remove any loose bits of protein that resisted the cleaning process. Always make sure the solution you rinse with is safe!
Note that soft contacts dry out quickly. If it takes you more than 30-45 seconds to put in your lens, use a multipurpose solution to rehydrate the lens so it’s ready to be comfortably placed onto your eye.
5. Check the contact lens orientation
Make sure the contact lens isn’t inside out. When inserted the wrong way, wearing contacts feels pretty uncomfortable, much like an eyelash stuck in your eye. There are different ways to verify if your lens is in the right orientation before you insert them:
a. Place the contact lens on your fingertip and look at the edges of the lens. The edges should point almost straight upwards, like a “U”. If they flare out, this means it’s inside out and you simply need to flip it the right way around.
b. Try using the “taco test”. Balance the lens on your finger, gently squeeze each side of the lens together. If the lens bends easily into the shape of a taco shell, it’s oriented properly. If the lens resists bending slightly into a taco shape, it’s inside out.
c. Another method is to look for the laser engravings such as “123” or “OK” on them. They are visible when you look at the inside of the lens (the part that touches your eye). Toric contacts sometimes have a laser engraving of a single line on the outer edge (the part that doesn’t touch your eye).
Doctor’s tip to put in contacts for the first time
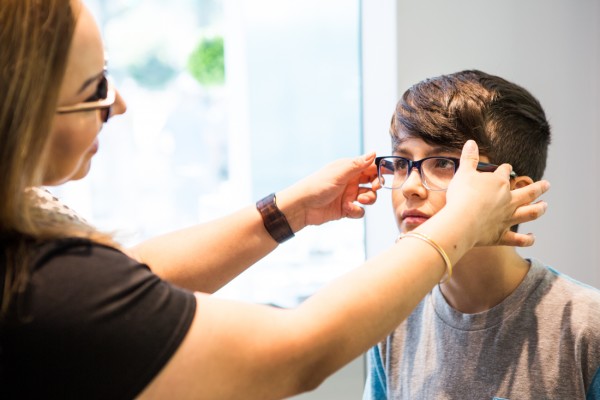
Our in-house optometrist, Dr. Justin Asgarpour, strongly suggests that you visit your Eye Care Professional for a valid contact prescription and initial contact lens fitting. Remember that contact lenses are medical devices and they come in different shapes, sizes and materials. Without proper fitting, lenses can harm your eyes. Your doctor can give you instructions on how to put in contacts for the first time:
1. Just before the lens touches your eye, blink a couple of times to encourage a fresh layer of tears on your eye.
2. Look in the mirror throughout the process to ensure that your eyes are wide open, and that your eyelashes and eyelids are out of the way.
3. Keep your finger dry, as a freshly wetted eye roll out the red carpet for your lens.
4. If the contact lens folds upon itself or sticks to the tip of your finger, gently take it off and wipe your fingertip on your clean towel before rebalancing the lens for another attempt.
5. If you’ve been trying for five minutes with no luck, take a break! The more frustrated you get, the less likely you are to successfully insert the lens.
During Dr. Asgarpour’s fittings with first time contact lens wearers, his patients generally take about 40 minutes to put in their contacts for the first time. So, no need to worry if it’s taking you some time. After about one to two weeks of regular use, you’ll be able to master your method.
How to take out contacts
1. Wash your hands.
2. Lean into the mirror so that you can see the contact lens sitting on your eye.
3. With the soft pad of your middle or index finger (no nails), gently slide the lens off to the side (the white part of your eye) and pinch it off with the pads of your finger.
4. Once you have removed your contact lenses, store them in a case with contact lens solution (or throw them out if you are using daily contacts).
Enjoy pure vision and comfort with your new contacts
Ready to experience brand-new eyesight with contact lenses? Slow and steady wins the race when learning how to put in contacts and remove them. But before long, you’ll be enjoying the wide field of view, crisp vision and all-day comfort that a properly fitted contact lens can provide.
Read more: